Confidently Create Garments that Fit
Pattern Design Project: BRIA Part 3
In the last video lesson we completed the basic draft for the Bria lounge pants. I hope the draft went quickly and easily for you. If things are looking a bit odd, double check your draft calculations, often this is where things get a bit off track.
In this video I want to share some tips on refining the draft before we create the final pattern. We'll alter the waist line, refine the hemline of the shorts and talk about the back crotch extension and how to alter it if you need to.
If you missed getting the Bria drafting instructions, you can get your copy by clicking on the image below.
Once you have completed the pattern refinements, you're ready to add seam and hem allowances. In the next lesson I'll share all the details on what seam allowances and pattern labeling to use, give you a general guide to assembling your Bria's and give you a peak at the final garment.
While you wait for the next lesson to drop, double check your pattern work. I’ve shared a lot in this lesson so ...
Pattern Design Project: BRIA Part 2
Welcome back to the Bria pattern design project. In the last video I showed you how to take the body measurements needed for this draft and shared some tips on how to interpret the draft instructions and make the draft calculations. Hopefully you gave that a try but If you’re new to pattern drafting, you may have struggled a little with understanding how it all works. If that is the case, you’re in the right place because today is drafting day, and I’m going to walk you through the process one step at a time.
If you missed getting your copy of the drafting instructions, just click on the image below.
After you draft your Bria's you'll have the basic shape and size of our lounge pants defined but there are some additional refinements and fitting considerations to make to the draft before we create the final pattern. I’ll be guiding you through those steps in the next lesson.
While you wait for the next lesson to drop, check your draft calculations one more time and try your hand at...
Pattern Design Project: BRIA Part 1
'Tis the season for cozy evenings, indoor projects and handmade gifts so let's make your evenings extra cozy, your indoor projects extra fun and your gifts extra special by creating made to measure lounge pants for you, your friends and your family.
New PJ's or lounge pants are always a special treat, especially if they are made to measure in the prints and fabrics you love. They also happen to be a great pattern design project for budding pattern makers because they are easy to draft, forgiving on fit, and quick to sew.
I'm excited to get started on this fun project with you so when you're ready, download and print the drafting instructions and follow along.
Click the image below to get the Bria drafting instructions sent straight to your inbox.
Watch the video with the drafting instructions in hand, I'll share some guidance on what you'll need to get started and show you the best way to proceed to make the draft go quickly and easily.
If this project sounds perfect for gift ...
Developing a Handmade Wardrobe: Part 3 The Sunny Knit Top
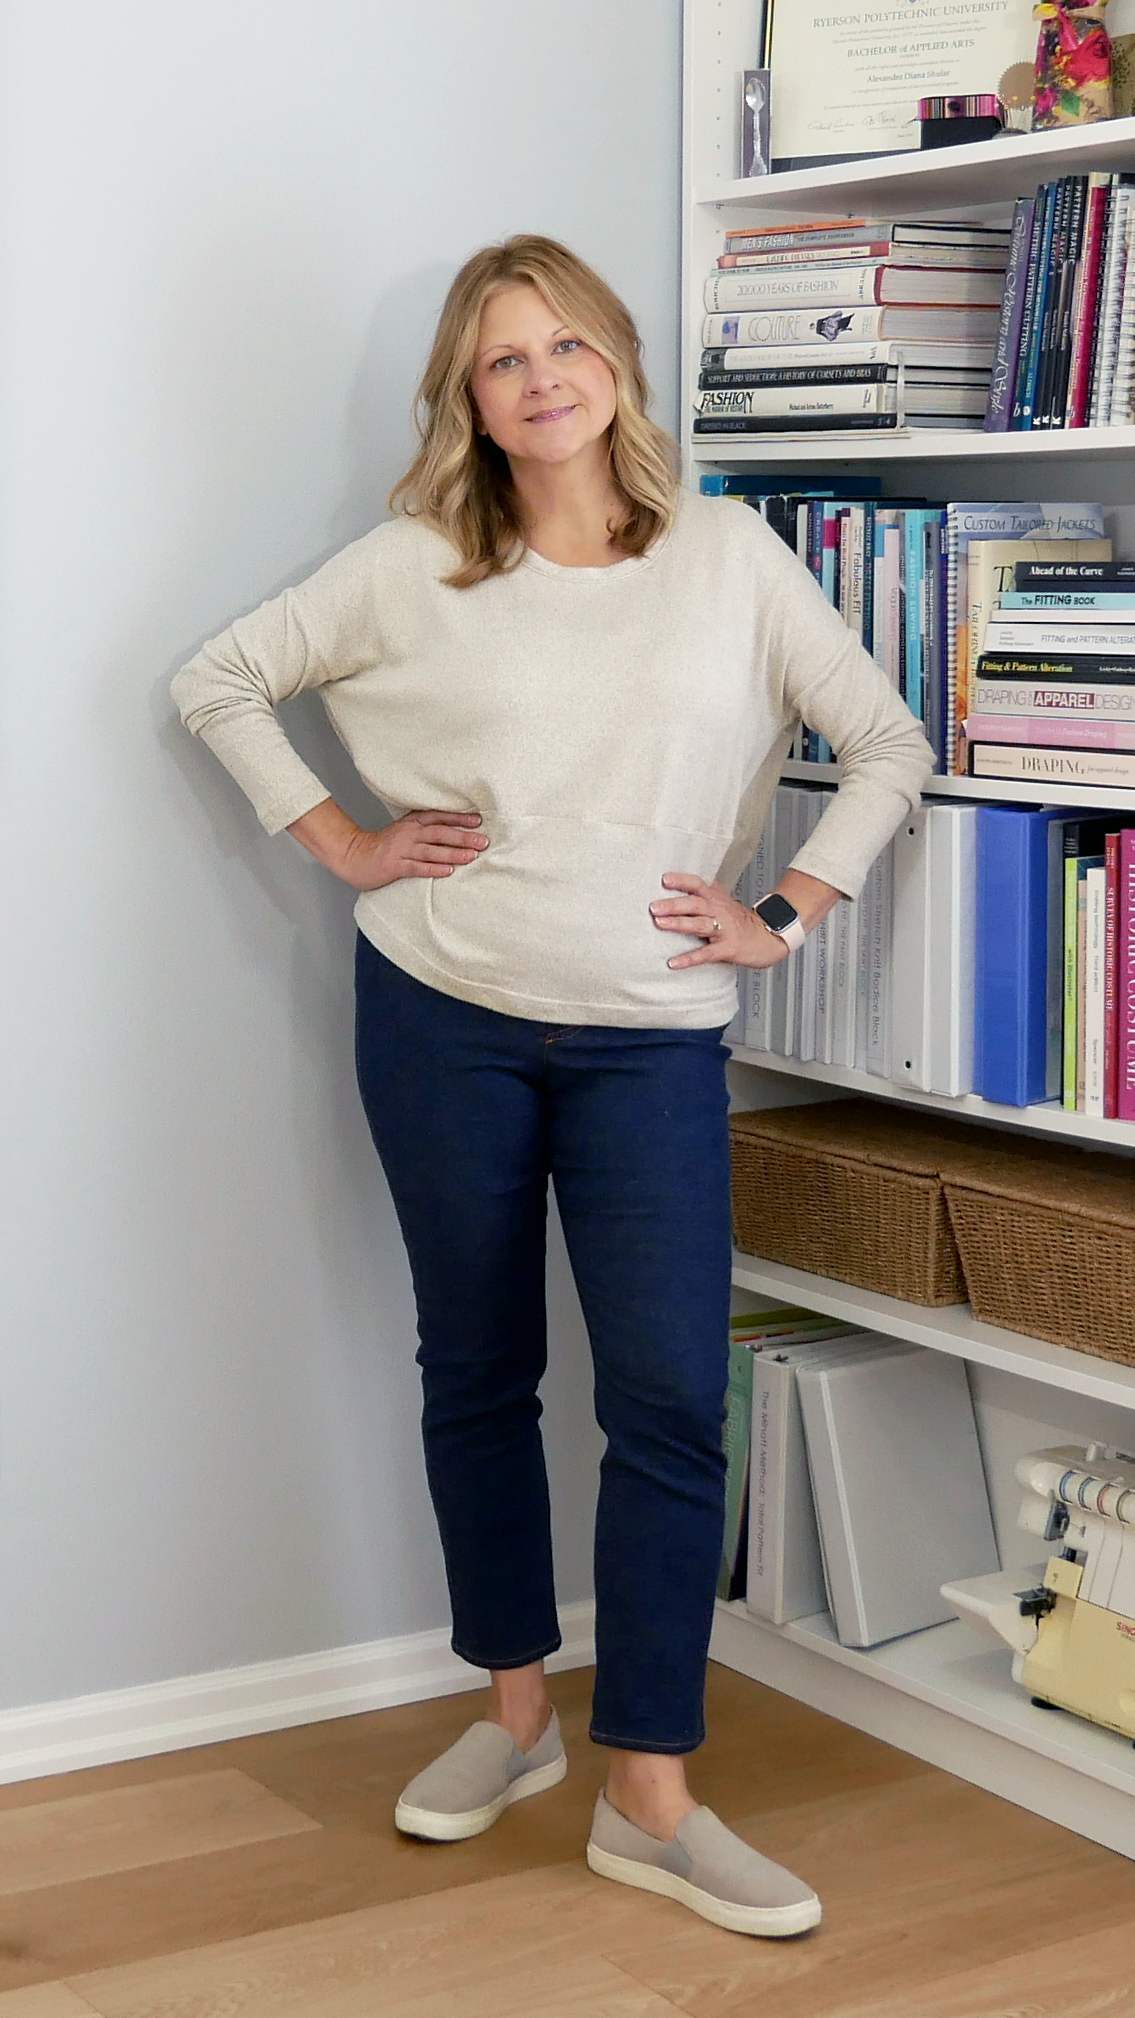
An oversized, comfy sweater is always the first thing I reach for on a chilly morning. The Sunny Knit Top by Style Arc is a pattern that I've had for quite a while. I put it on my Fall season wardrobe plan knowing that it was a little too oversized for my liking, so today I'll share how I changed the pattern into one I know I'll be using over and over again and give you two valuable knit pattern making tips that you've likely never seen before.
This week I'm continuing with the series on developing a handmade wardrobe. This is part 3 of the series and I'm featuring the Sunny Knit Top. If you've missed the previous videos, I promise they are very informative, so be sure to watch those next if you haven't already.

This sweater knit fabric from Fabricland is very stretchy with a stretch ratio of 100% but since this an oversized garment, this isn't the most important property. What is more important is to understand how the knit will "drop" when worn. Essentially this means that any ga...
Developing a Handmade Wardrobe: Part 2 The Debra Knit Top
There is no question that knit garments are comfortable to wear and quick to sew but while most would say they are also "easy to fit", you may have found that it's difficult to determine what the final outcome will be. This week I'm continuing with the series on developing a handmade wardrobe. I'll share some tips on how you can determine the fit of your next knit project before you sew.
In Part 1 of this series I shared the Miranda Skirt by Style Arc. In my wardrobe plan I paired the Miranda skirt with the Debra Zebra Knit Top. As I mentioned in the last video, I'm quite happy with the results. While the skirt required very few fit adjustments, the Debra Knit Top was a little more involved, so today, I'll share with you how I determined the fitting adjustments I needed to fit the pattern before I sewed. If you missed Part 1 of this series, you can see it HERE.
When sewing with knit fabrics it's important to understand its properties. My first step is always to pre-wash the fabric so...
Developing a Handmade Wardrobe: Part I The Miranda Skirt
How is your new season sewing coming along? I've got quite a few pieces all made up and I can't wait to show you.
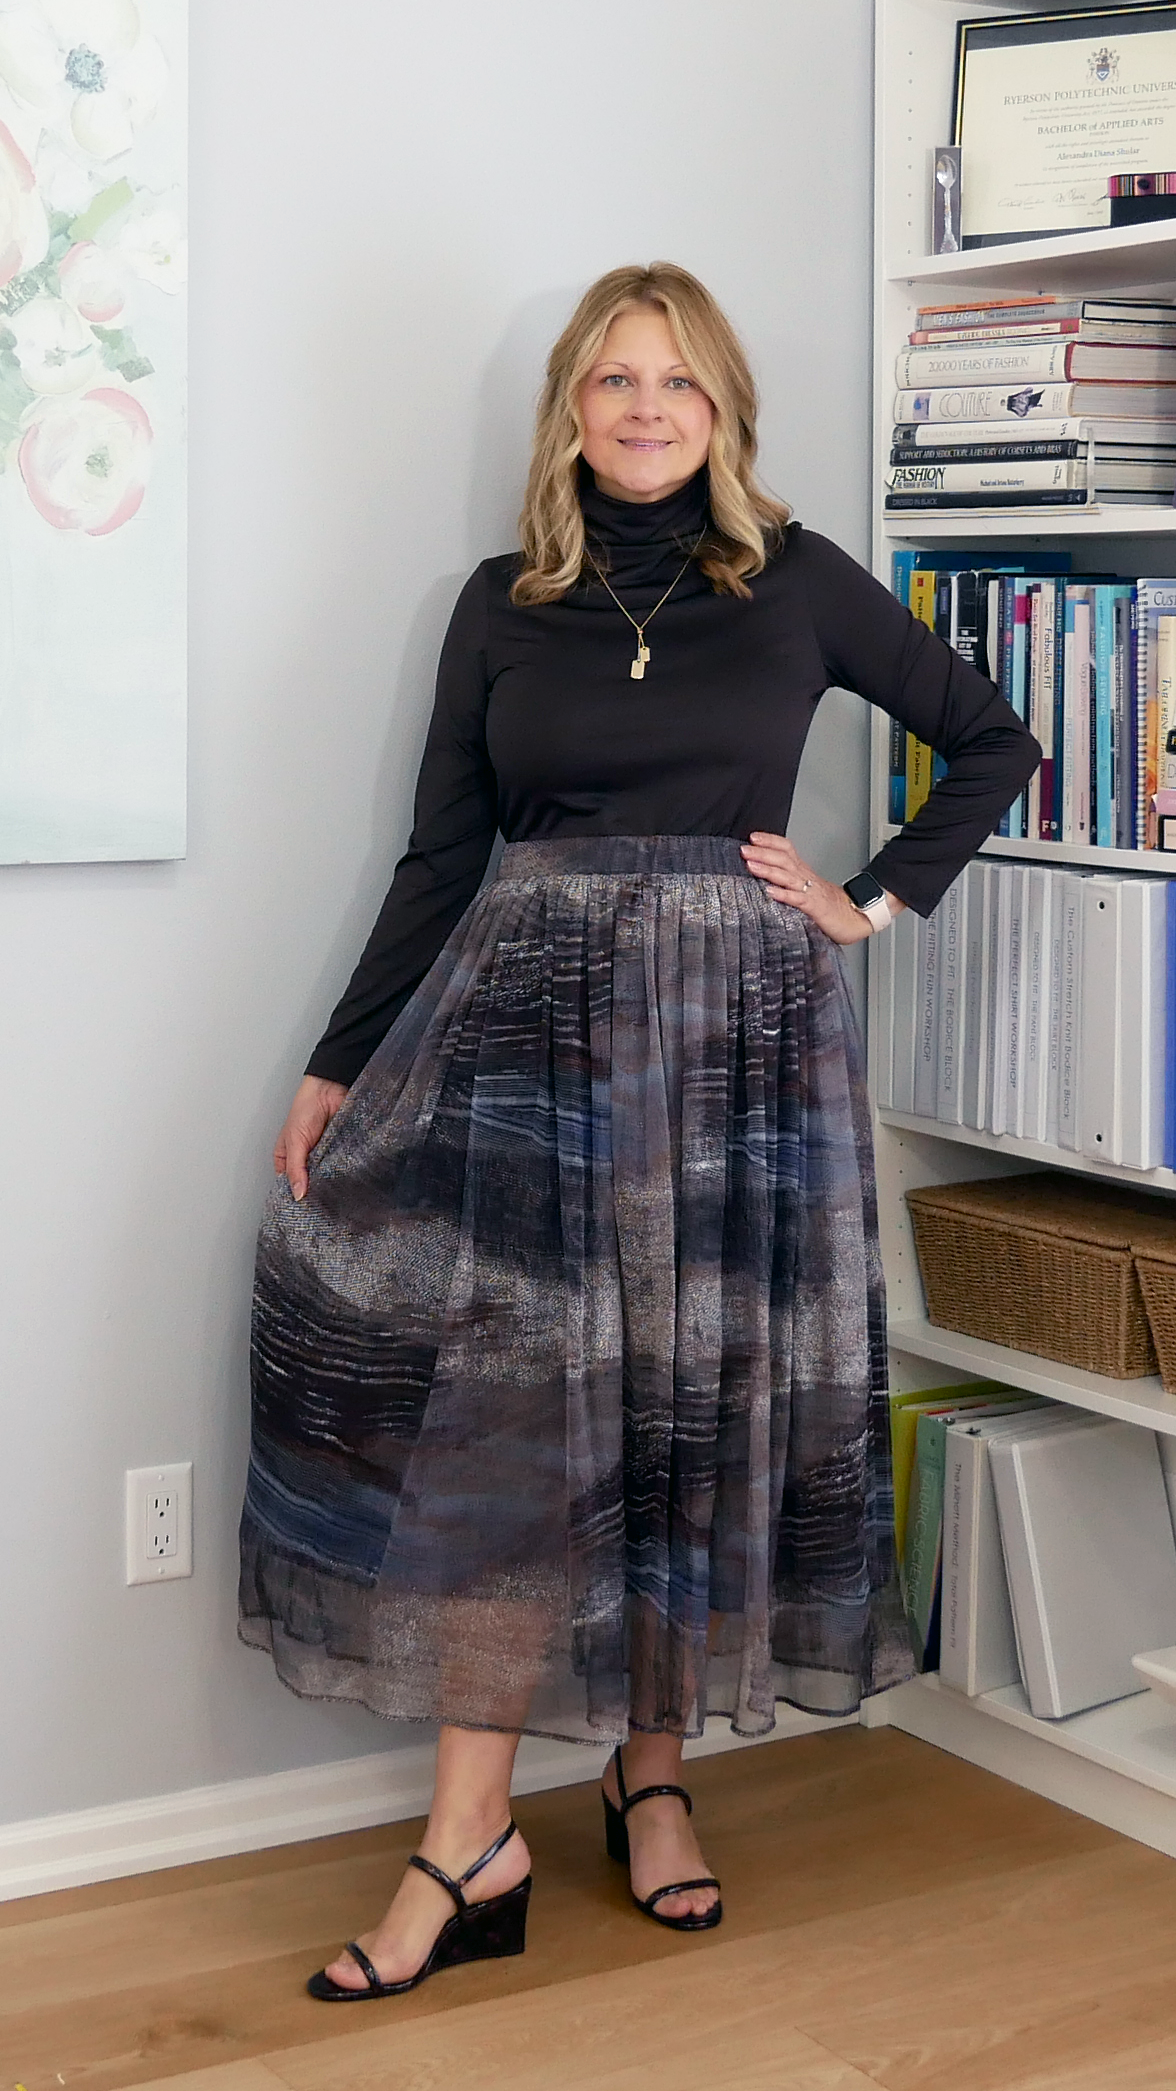
If you watched the most recent video series on How to Plan a Handmade Wardrobe that Works, you'll already know that the Debra Zebra Knit Top and the Miranda Skirt from Style Arc Patterns were on my make list. This week I'm going to show you how those turned out and focus in on the Miranda Skirt to give some details on how I made that pattern work for me.
Here's a look at the finished garments.

I'm very happy with the results, but rather than just show you the finished garments, I do want to share some details of how I approached the making of the Miranda Skirt. I definitely have some things to share about the Debra Knit Top, but I'll do that in a separate video.
The Miranda skirt went together quickly and easily after making a few key decisions about the fabric, the fullness and the length.
For fabric I chose a beautiful print chiffon from Gala Fabrics. The fabric is...
How to Plan a Handmade Wardrobe that Works: Phase 4 Development
If you've been following along with this month's video series, you're likely starting to see how planning a handmade wardrobe can help you be more strategic with your pattern choices to make the most of your sewing time.
So far I've shown you:
- how to use a wardrobe guide to help you determine the types of garments that will work well together
- how to narrow down your pattern choices by being realistic about the clothing you actually need based on the events on your calendar
- how to determine the styling changes you might want to make for your silhouette, as well as how to strategically approach fabric shopping.
Today, I'll cover development, and outline the process I use to produce the garments in the wardrobe plan.
The development phase is all about creating each of the individual pieces in your handmade wardrobe plan, but to make the most of your sewing time, I suggest you break down the project into similar tasks so that you can work on several garments at the same time.
Th...
How to Plan a Handmade Wardrobe that Works: Phase 3 Conceptualization
Are you thinking about sewing for the new season yet?
If you are, stick around, we're about to begin Phase 3 of How to Plan a Handmade Wardrobe that Works. Today we're going to take a closer look at the patterns chosen in phase 2, decide on the styling changes we want to make based on our body silhouette, as well as the colors and fabrics that will pull all the pieces together.
If you missed the phase 1 and phase 2 videos, you might want to pause here and watch those first. I shared some great tips on how to decide on what type of patterns to look for and show to make your final selections so that you're ready for this part of the process.
Let's first look at pattern styling. I don't know about you but after choosing a pattern style, there are often subtle changes I want to make to the pattern to be more suited to my body shape and silhouette.
For example, I have a relatively hourglass silhouette and a larger cup size than standard so when I'm looking at a pattern style I know that...
How to Plan a Handmade Wardrobe that Works: Phase 2 Selection
If you've got a closet full of "me-mades" that you love but don't seem to be wearing as much as you intended, I've got some insights you can use to change that. This week, I'm sharing the 2nd phase of planning a handmade wardrobe that works.
Phase 2 is all about being realistic about the pattern choices made in Phase 1. If you missed last week's video, watch that one first to get a glimpse of the wardrobe ideation process, then jump back here to discover the criteria I used to narrow down my pattern choices and see my final pattern selections.
Now that I've gathered up the patterns for my handmade wardrobe, it's time to consider if they are the best choices and if I can realistically create the garments in the time I have available. The ideation process is fun and exciting, the selection process is a little more sobering so here are the criteria I use to narrow down my pattern selection to items that will work well together, that I'll actually wear, and that I'll have the time to dev...
How to Plan a Handmade Wardrobe that Works: Phase 1 Ideation
If you were to hang all your handmade garments on a single clothing rack, how many of those pieces would work together? Is there a garment hanging there that you love but you've never worn because nothing seems to go with it? Do the colors and prints even go together? If you've just realized that this may be a problem for you, keep watching. This video is the first of a series I'm doing on building a handmade wardrobe that works.
First of all, I'm not an expert on wardrobe planning. The questions I asked you earlier were the questions I asked myself, so I did some research and attempted to create a simple summer wardrobe. If you'd like to see the result of that, here's a link.
The Summer wardrobe experiment inspired me to try it again for Fall, but I wanted to make more intentional choices this time. In order to do that I did a search and stumbled across a company called Outfit Formulas. I'll leave a link so you can learn more about their offering, but my choice was to purchase a ...


