What I Did this Summer and Other Stories
Did you ever have to write a "What I Did this Summer" essay for school?
I always found summing up two months of summer activities challenging and I often felt I had to make those activities a little more exciting than they may have been, but I did enjoy hearing about my classmate's adventures.
Since I'm popping in after a summer absence, I thought you might like to get a glimpse of what I've been up to in the hope that you'll find my discoveries helpful and activities interesting.
A LITTLE SEWING...

I did manage to get in a little sewing last month and made a cozy Merino Wool Cowl Neck sweater. I purchased this cosy fabric from Riverside Textiles. Try as I might to wear less black, this was the only color available in this fabric at the time of my purchase, but I can't say I was disappointed. I know this one will be in constant rotation as the Canadian West Coast weather cools.
I created the pattern from my Custom Stretch Knit Bodice block by referencing measurements from a purchased sweater I liked the fit of. Since I know the details of this top are hard to see, I'm happy to share what my pattern looks like to give those of you diving into pattern design a reference for the pattern shapes.
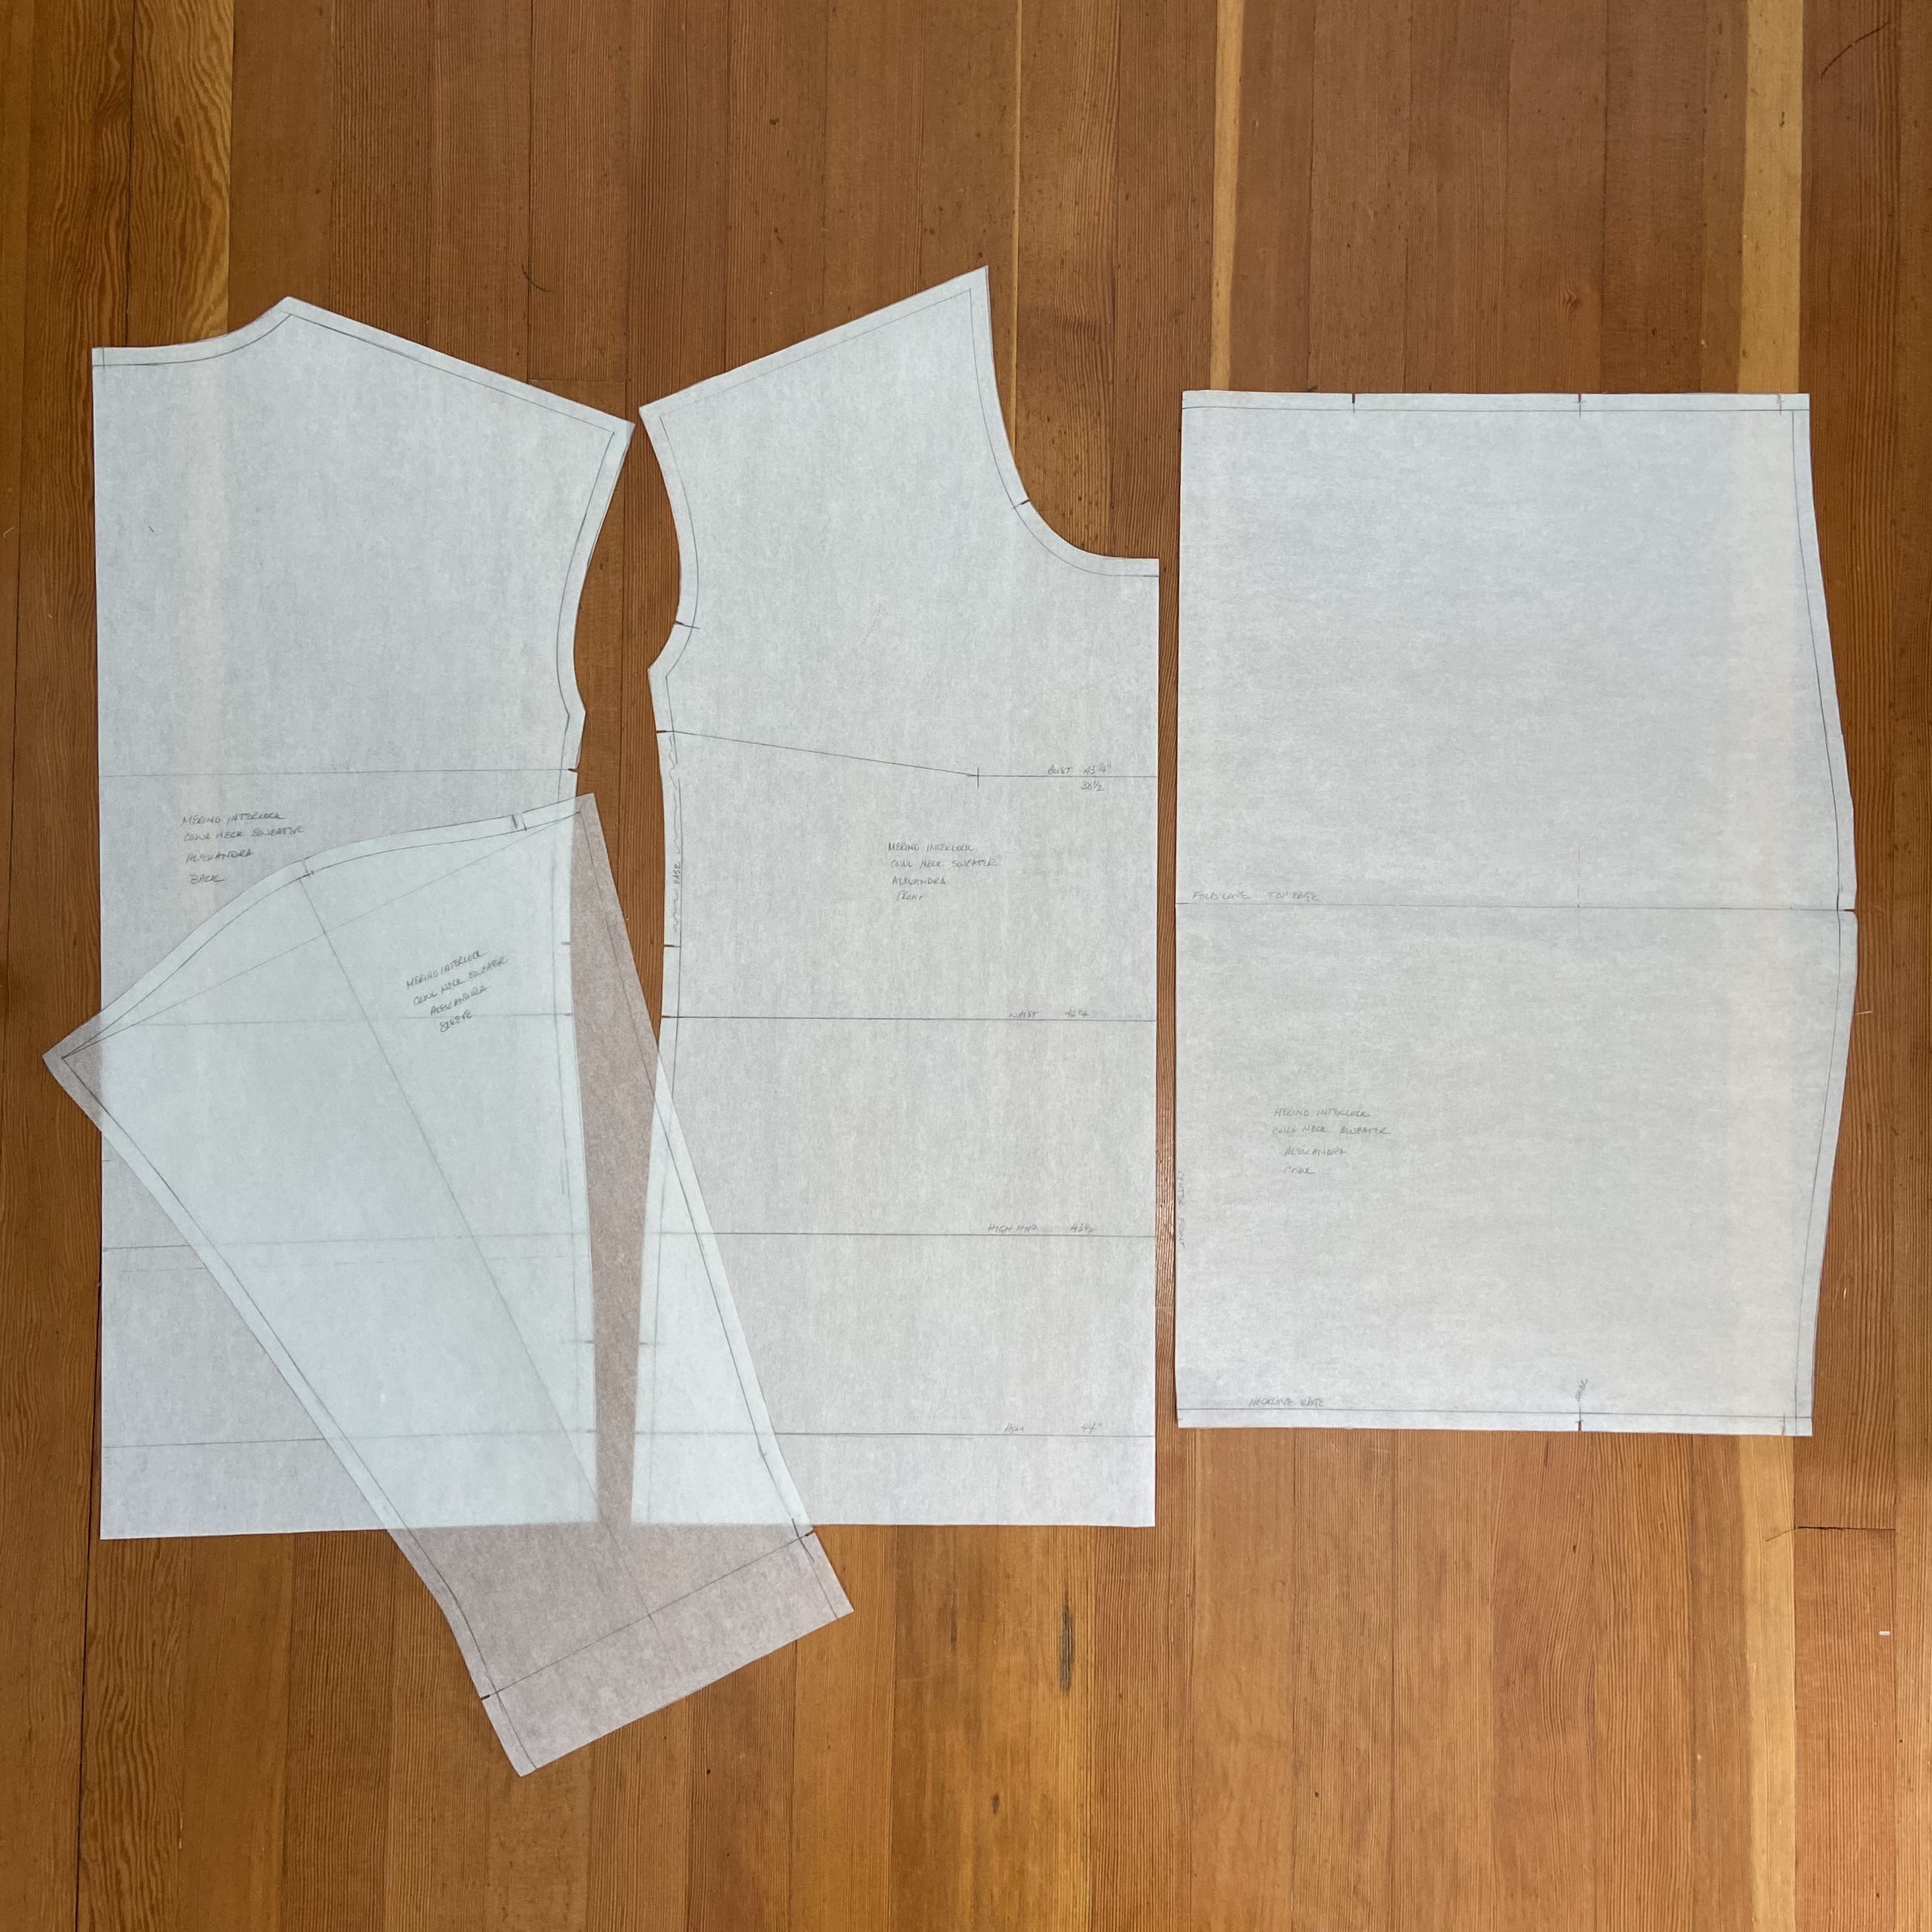
You'll notice that it has a dropped shoulder and loose fit, but I have incorporated some bust fitting with the easing of the front side seam to eliminate some of the wrinkles that appear at the side of the bust. There are always secret ways of incorporating better fit but with a garment like this you can expect some soft folds and graceful draping. This quick project also gave me the opportunity to get a bit more practice using my Babylock Euphoria which was a recent luxury addition to my sewing table.
PANTS...
To say that developing a Fitting Essentials pant fitting class is challenging isn't nearly descriptive enough when you consider the intricacies of pant fitting and the myriad of individual body shapes that must be accounted for.
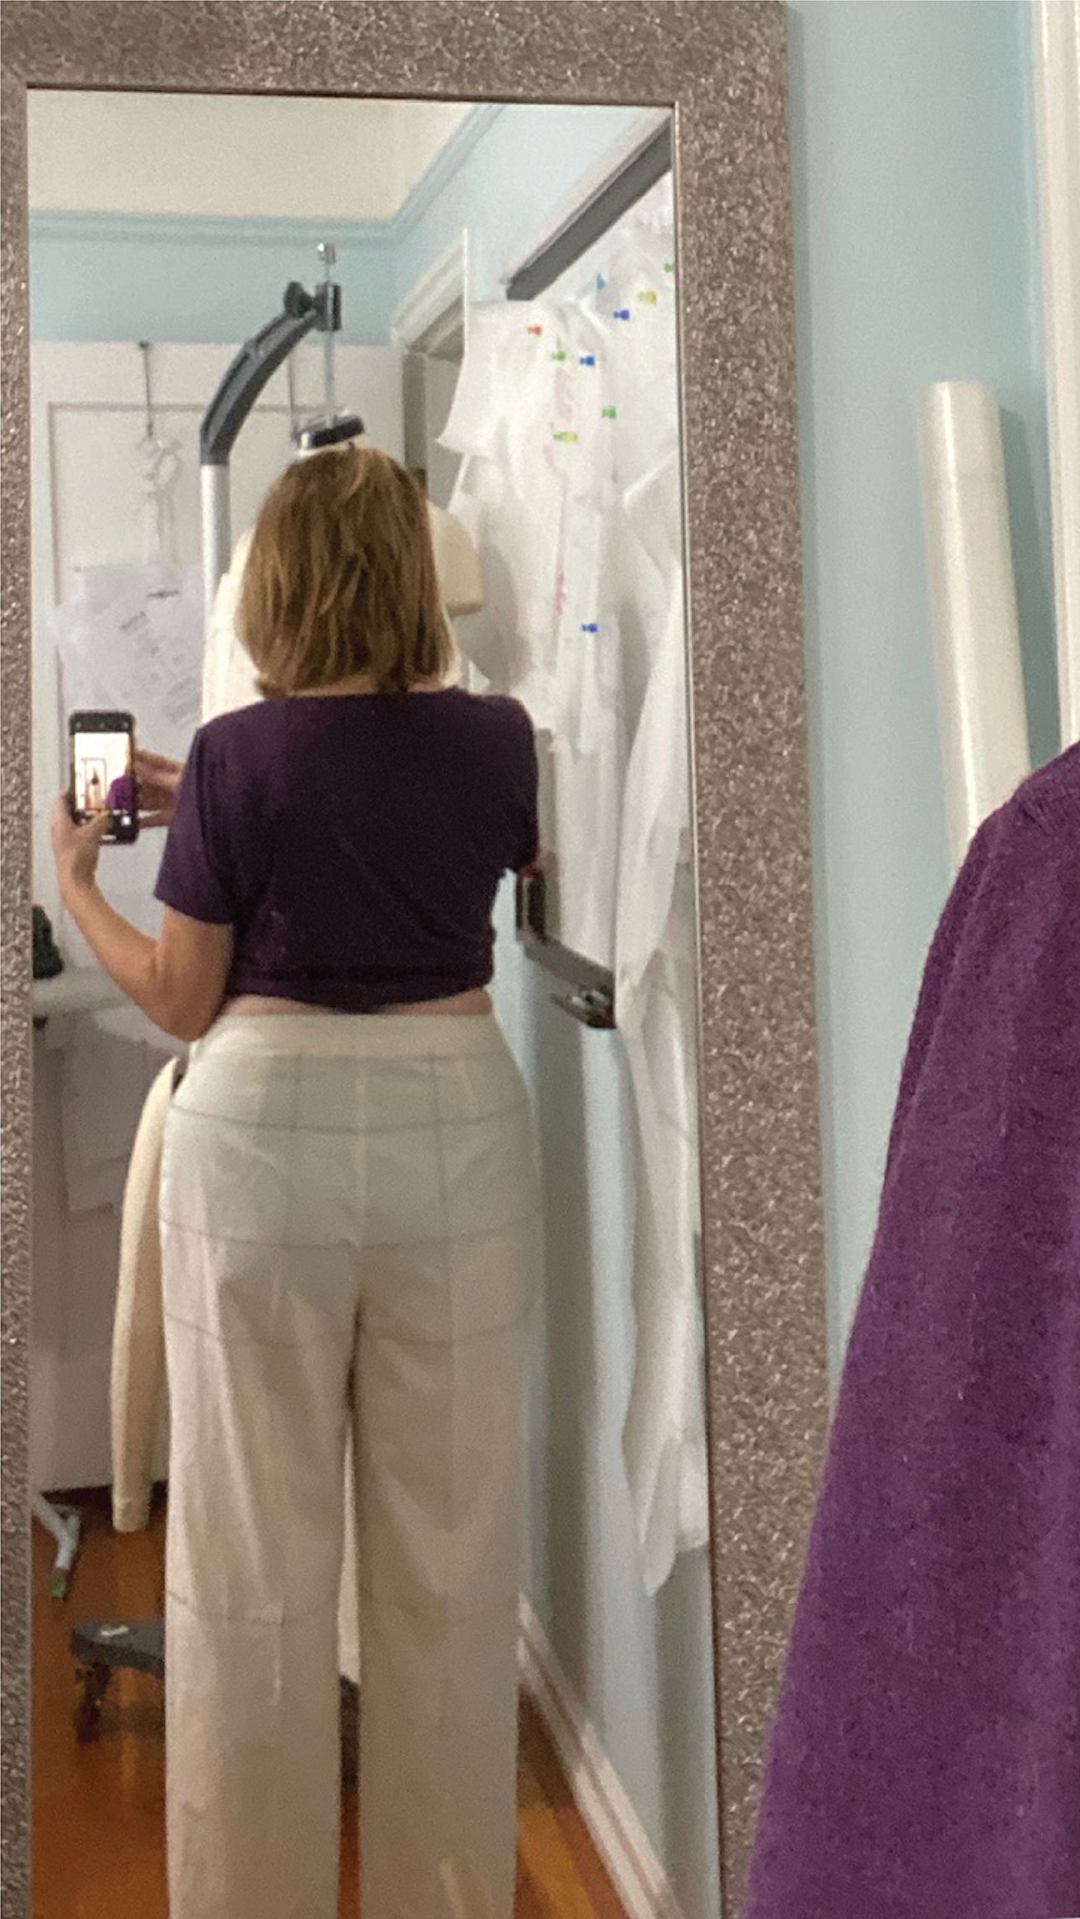
Here I am checking out the first sample of "Cordelia", the new pattern that will be used for the class. While it's not perfect, I was very pleased with the results of the first round of pattern alterations that will become part of the Fitting Essentials pant fitting process.
While I am making progress and have so much to share already, there is much to do before this class is ready for enrollment so in the meantime, I am happy to share some helpful tutorials and recommendations for fitting pants.
• Don't miss these free pant fitting tutorials: FITTING PANTS
• You may already know I highly recommend classes from Sarah Veblen. Her pant fitting class on Pattern Review, Fun with Fitting Pants, is a great place to get a foundation in recognizing pant fitting issues and using balance lines to help you assess fit. Since it is so reasonably priced, it's a great place for a beginner to start and will prepare you for the more advanced techniques I'll eventually share with you in my upcoming Fitting Essentials for Pants course coming out next year.
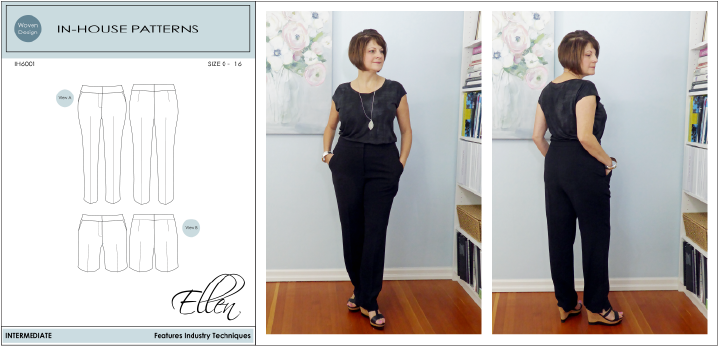
• To offer a little incentive to starting on your pant fitting journey, the Ellen pant (and more) is currently 20% Off until September 28th, 2021. Guidance on placing the balance lines on this pattern can be found in the tutorial suggestions above.
TOOLS OF THE TRADE...
It's well known that fitting without a fitting buddy is difficult but as I've been working on the pant fitting class over the summer I've discovered a few measuring tools that can help.
1. The Self Measuring Tape
I found this self measuring tape at Riverside Textiles. Although it appears to be sold out at the moment, I highly recommend this tape measure to help you take your body measurements on your own.
2. The Vertical Measurement Tool
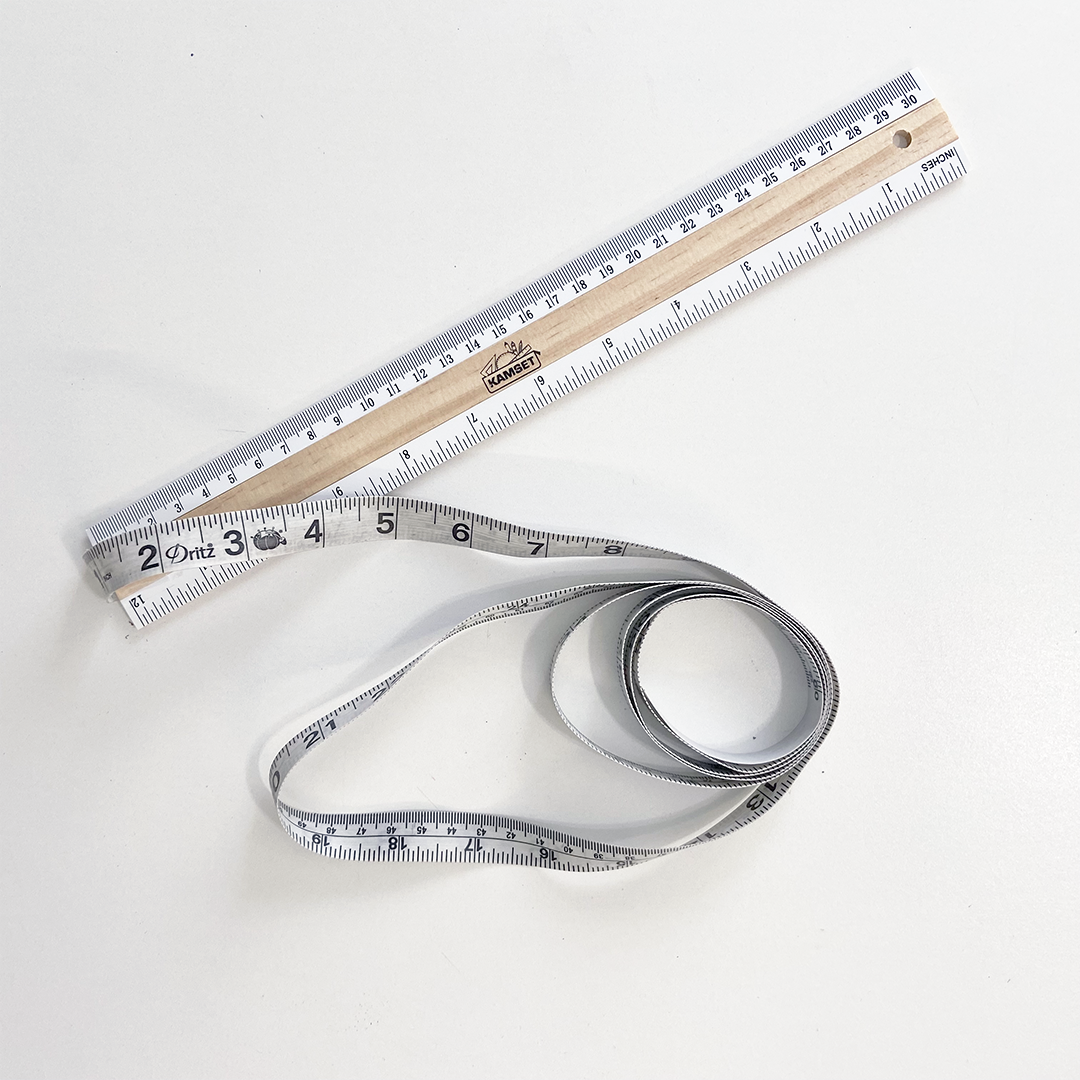
When fitting pants the height/length body measurements are taken from the floor up. This is so that you can determine the position of the balance lines on your body in relation to a constant - the floor. For this I devised a simple measurement tool from a 12" (30 cm) wooden ruler and a dressmaker's measuring tape. You'll see that the zero point of the tape is secured to the bottom edge of the ruler. To measure yourself you can step of the wooden ruler to secure it to the floor and easily measure yourself from the floor up to ankle, knee, crotch, hip and waist very accurately on your own.
3. The Dual Measurement Tool
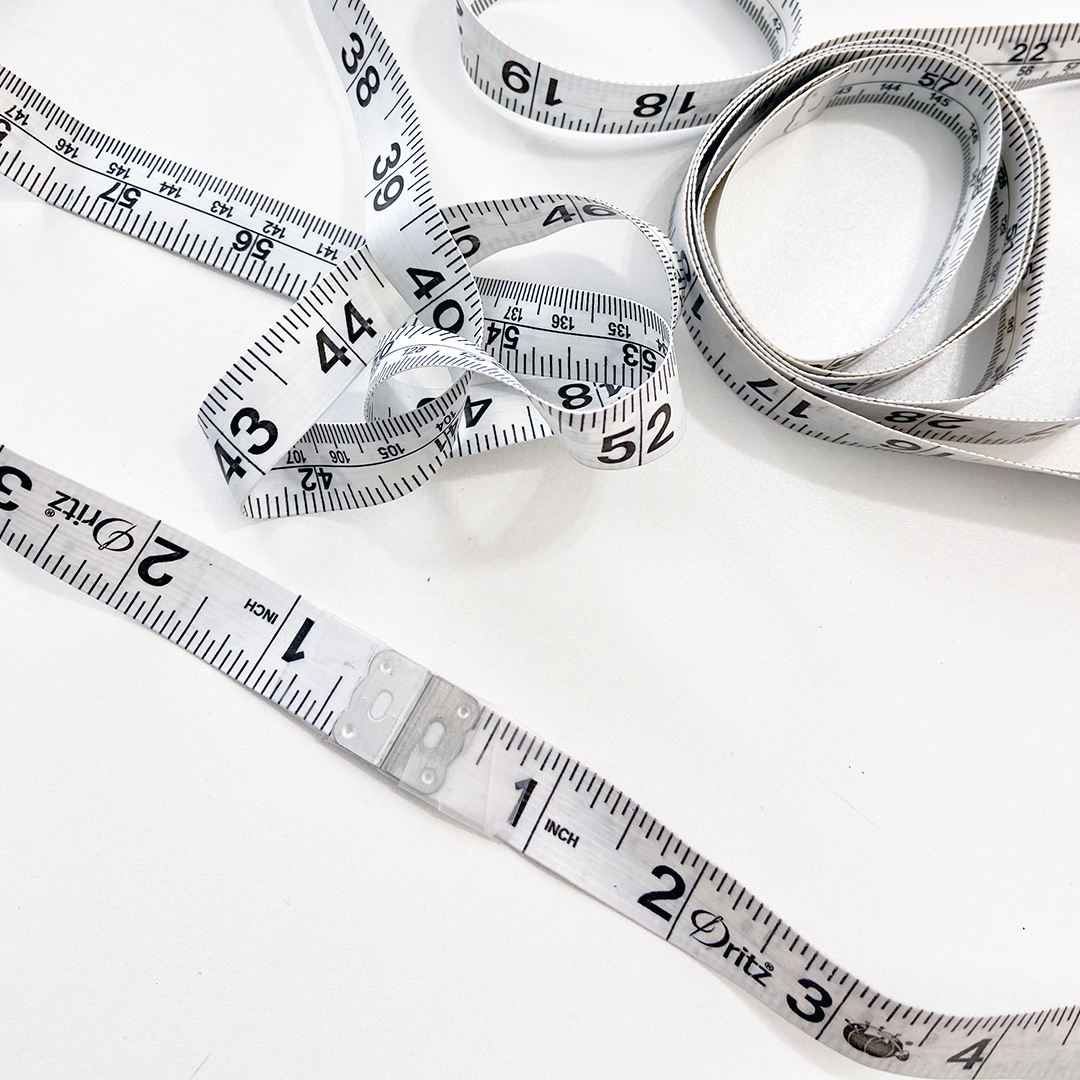
Measuring the front and back of the body can be tricky, especially if you're all on your own. With this tool you can determine the distribution of measurement on the body with more accuracy. Simply tape the zero ends of two tape measures together as shown here to determine your front and back crotch curve lengths or to separate your waist and hip measurements based on the front and back of the body.
Hopefully these tools will make measuring yourself a little easier. If you need more guidance on how to measure yourself, just click HERE.
HAPPENING NOW...
In-House Patterns are now on sale!
If you're looking for a new project to work on, all sewing patterns are 20% Off until September 28th, 2021. The discount will automatically be applied at checkout for your convenience.
I highly recommend you take a look at the Lila top (view B shown here in Designer Deadstock from Blackbird Fabrics worn with self drafted culottes from a recent IHPS pattern design tutorial).
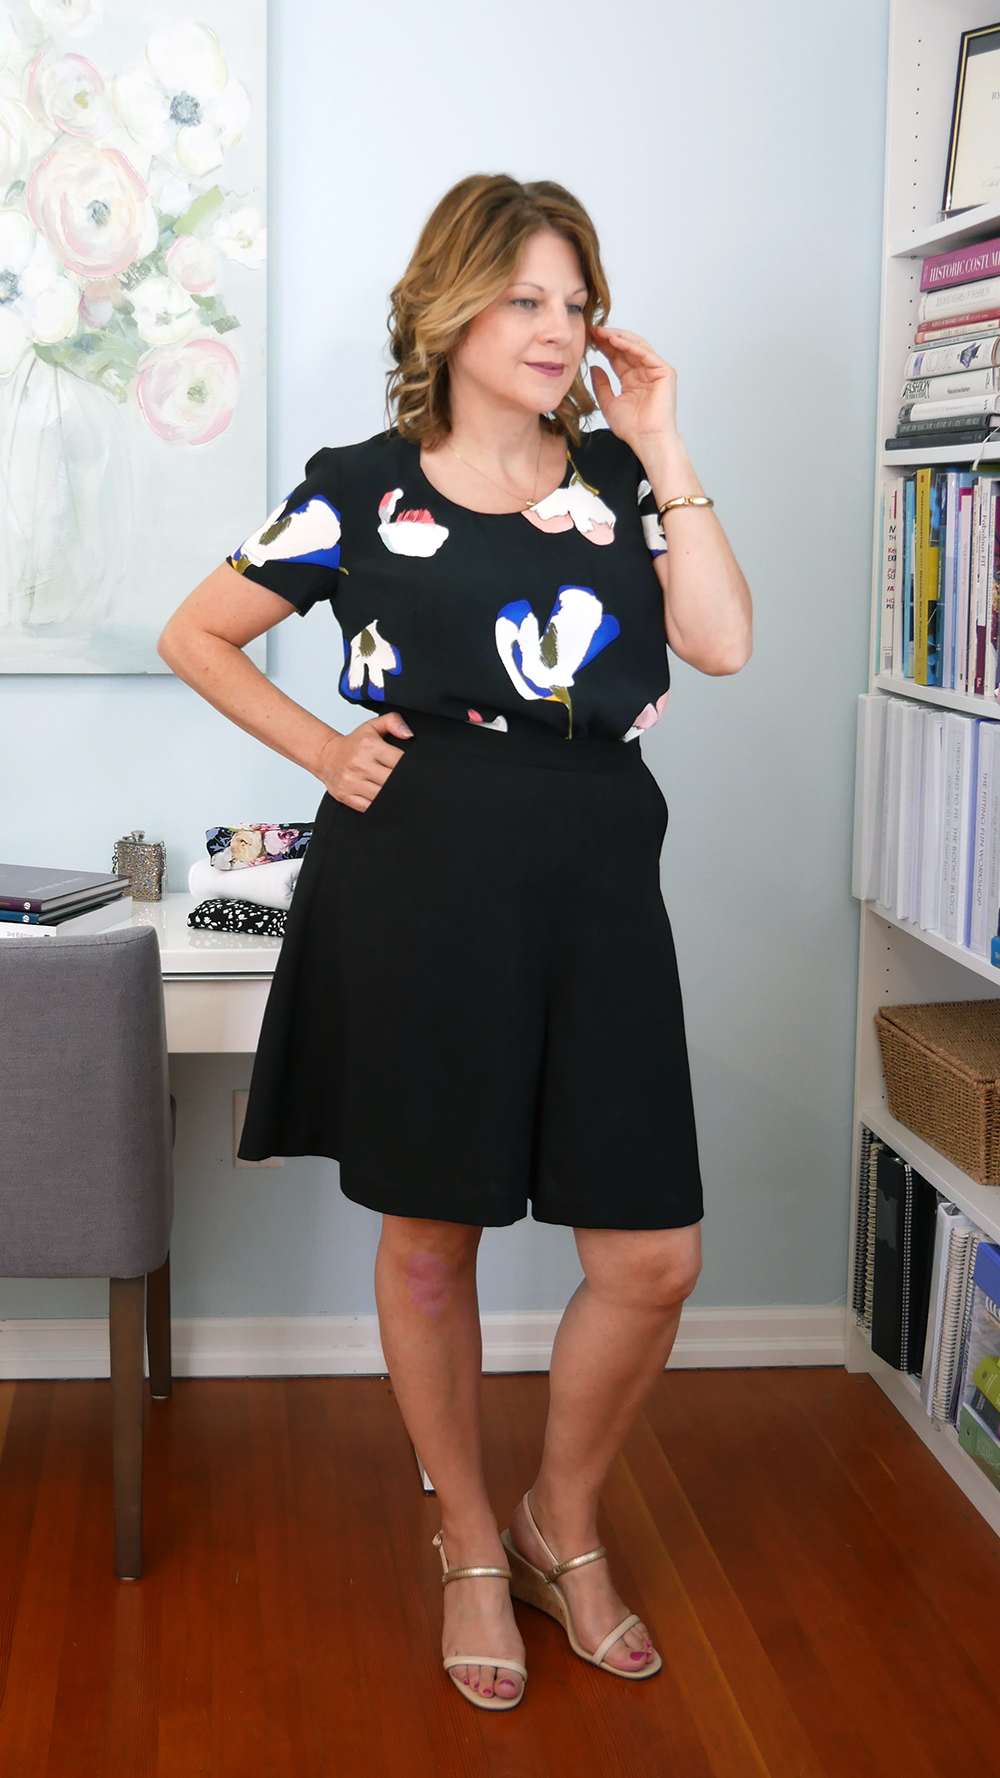
The Lila pattern incorporates special features and video tutorials to help you get the perfect fit and is a good introduction to the Fitting Essentials method of fitting. It also includes some creative pattern design projects that will increase your pattern making knowledge. Sizing for this pattern is 2 to 14 and 12 to 24. CHECK IT OUT.
All other patterns are sized 2-16 and don't have these special features so please read the pattern descriptions carefully.
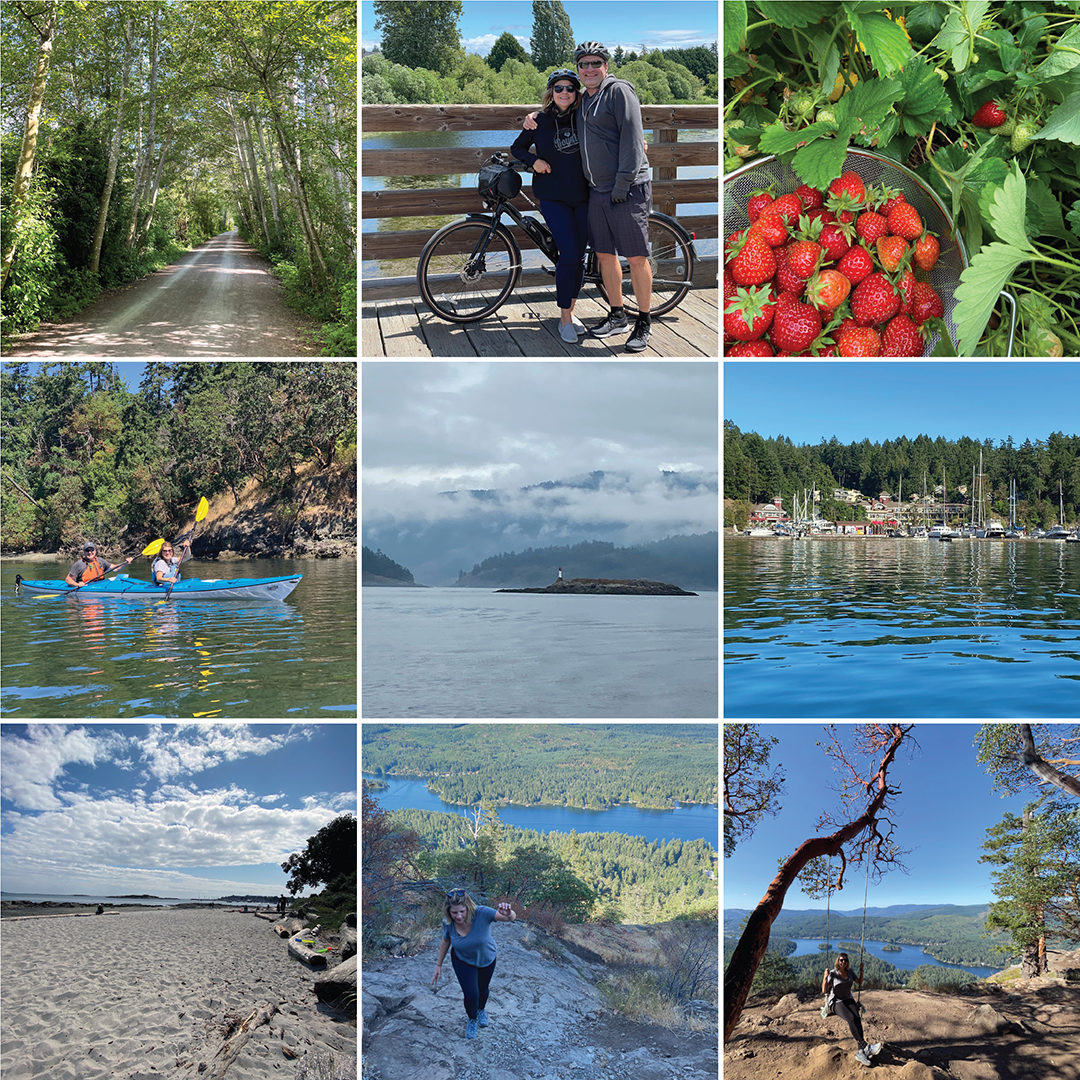
When I wasn't working on the pant class... my husband and I enjoyed the outdoors with friends. Cycling, gardening, kayaking, hiking and sailing were our go-to activities that improved both body and mind and gave me a new appreciation for the beauty we live in.
I hope you enjoyed your time in and out of the sewing room as well.
All My Best,
Alexandra


